
A gel manicure that chips in four days is not a “gel manicure problem.” It’s a preparation, application, or aftercare problem. The good news: every one of those causes is fixable.
You paid for a gel manicure, you left the salon feeling great, and then by day five the tip of your index finger is gone. Sound familiar? You’re not alone. Chipping and lifting are the most common complaints around gel nails, and most of the time the fix has nothing to do with switching polish brands. It comes down to understanding why gel fails in the first place, and what to look for in a salon that gets it right.
This guide walks through the real reasons gel polish chips, what a properly done gel manicure looks like from prep to finish, and how to make your results last well past the three-week mark. If you’re in San Antonio, you’ll also find specific tips for keeping gel intact in our climate.
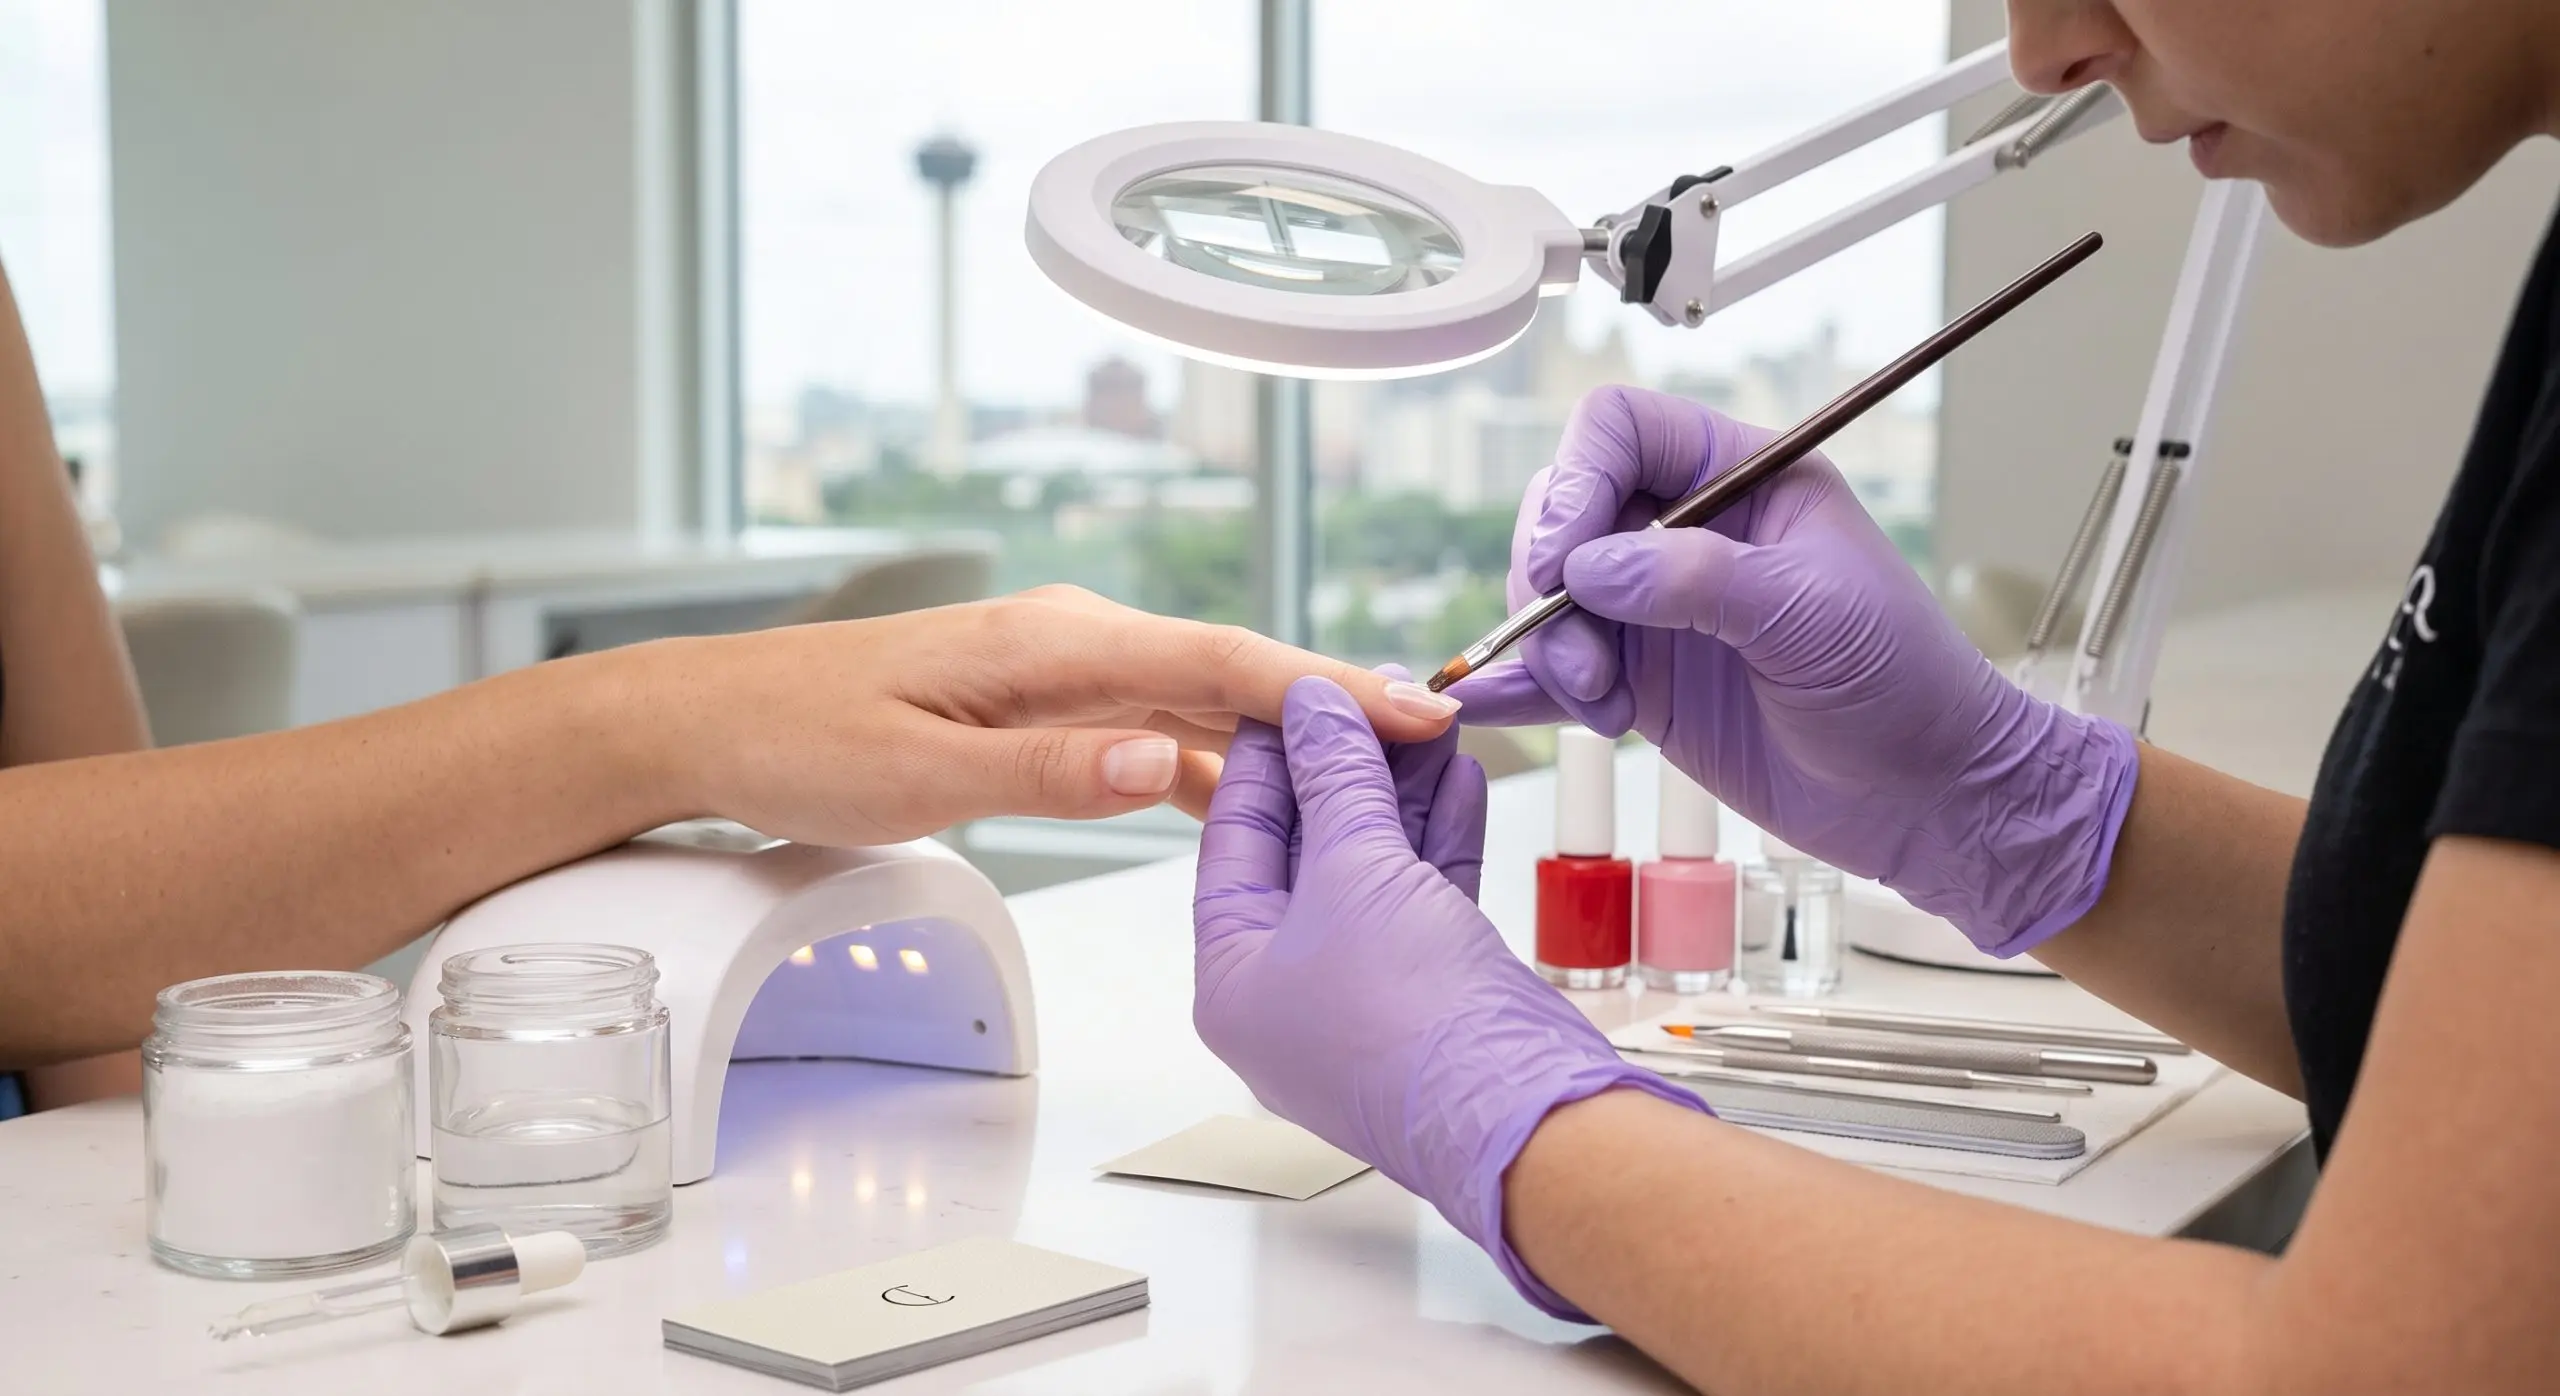
The Real Reasons Gel Polish Chips (It’s Usually Not the Polish)
Walk into almost any nail forum and you’ll see someone asking why their gel chipped after two days. The answers range everywhere from “try a different brand” to “drink more water.” The actual causes are more specific than that, and most of them happen before a single drop of color is applied.
Poor nail preparation
Gel polish bonds to the nail plate, not to oil, lotion, moisture, or dead skin cells. If the nail surface is not properly dehydrated and primed before application, the gel has nothing to grip. This is the number one cause of early chipping and lifting. The Mayo Clinic notes that nails naturally contain moisture and oils, which means every prep step exists to temporarily clear that surface so the gel can cure directly onto the nail plate.
Skipping or rushing the base coat
The base coat is not optional. It’s the bonding layer. A thin, even base coat applied precisely to the edge of the nail (without flooding the cuticle) is what anchors everything above it. Rushing this step, or applying it too thick, leads to uneven curing and chips that start at the tip.
Not capping the free edge
Every layer of gel, including the base coat, color coat, and top coat, needs to be “capped” or “sealed” at the free edge. This means running the brush lightly along the very tip of the nail to seal the layers together. Skip it and you’ve left an open edge where moisture, soap, and friction can work their way underneath the gel. This is where most tip chipping starts.
Undercuring under the lamp
Gel polish cures by a photochemical reaction triggered by specific wavelengths of UV or LED light. If the lamp wattage is too low, the exposure time is too short, or a color gel is particularly thick or dark, the gel may cure on the surface but stay soft underneath. That layer-level weakness leads to chipping that can feel like the whole nail “peels” rather than chips cleanly.
What you do in the first 24 hours
Even properly applied gel is slightly vulnerable in the hours after application. Prolonged exposure to hot water, harsh dish soap, or cleaning chemicals before the gel has fully hardened at a molecular level can weaken the bond. The Occupational Safety and Health Administration flags certain chemical exposures in nail salon environments specifically because of how reactive these formulations are, which illustrates just how chemistry-dependent gel performance really is.
What a No-Chip Gel Manicure Actually Looks Like Step by Step
A gel manicure that lasts three weeks or more is the result of a specific, methodical process. When any step is rushed or skipped, the entire structure is compromised. Here’s what the process should look like at a professional salon.
- Nail assessment: A licensed technician checks your natural nail health before anything else. Thin, damaged, or lifted nails need attention before gel can adhere correctly.
- Shape and length: Nails are filed to your chosen shape. Filing after gel application can break the seal, so shape is set first.
- Cuticle work: Cuticles are gently pushed back, not cut. Cutting live tissue opens the door to infection and can compromise the seal around the nail base.
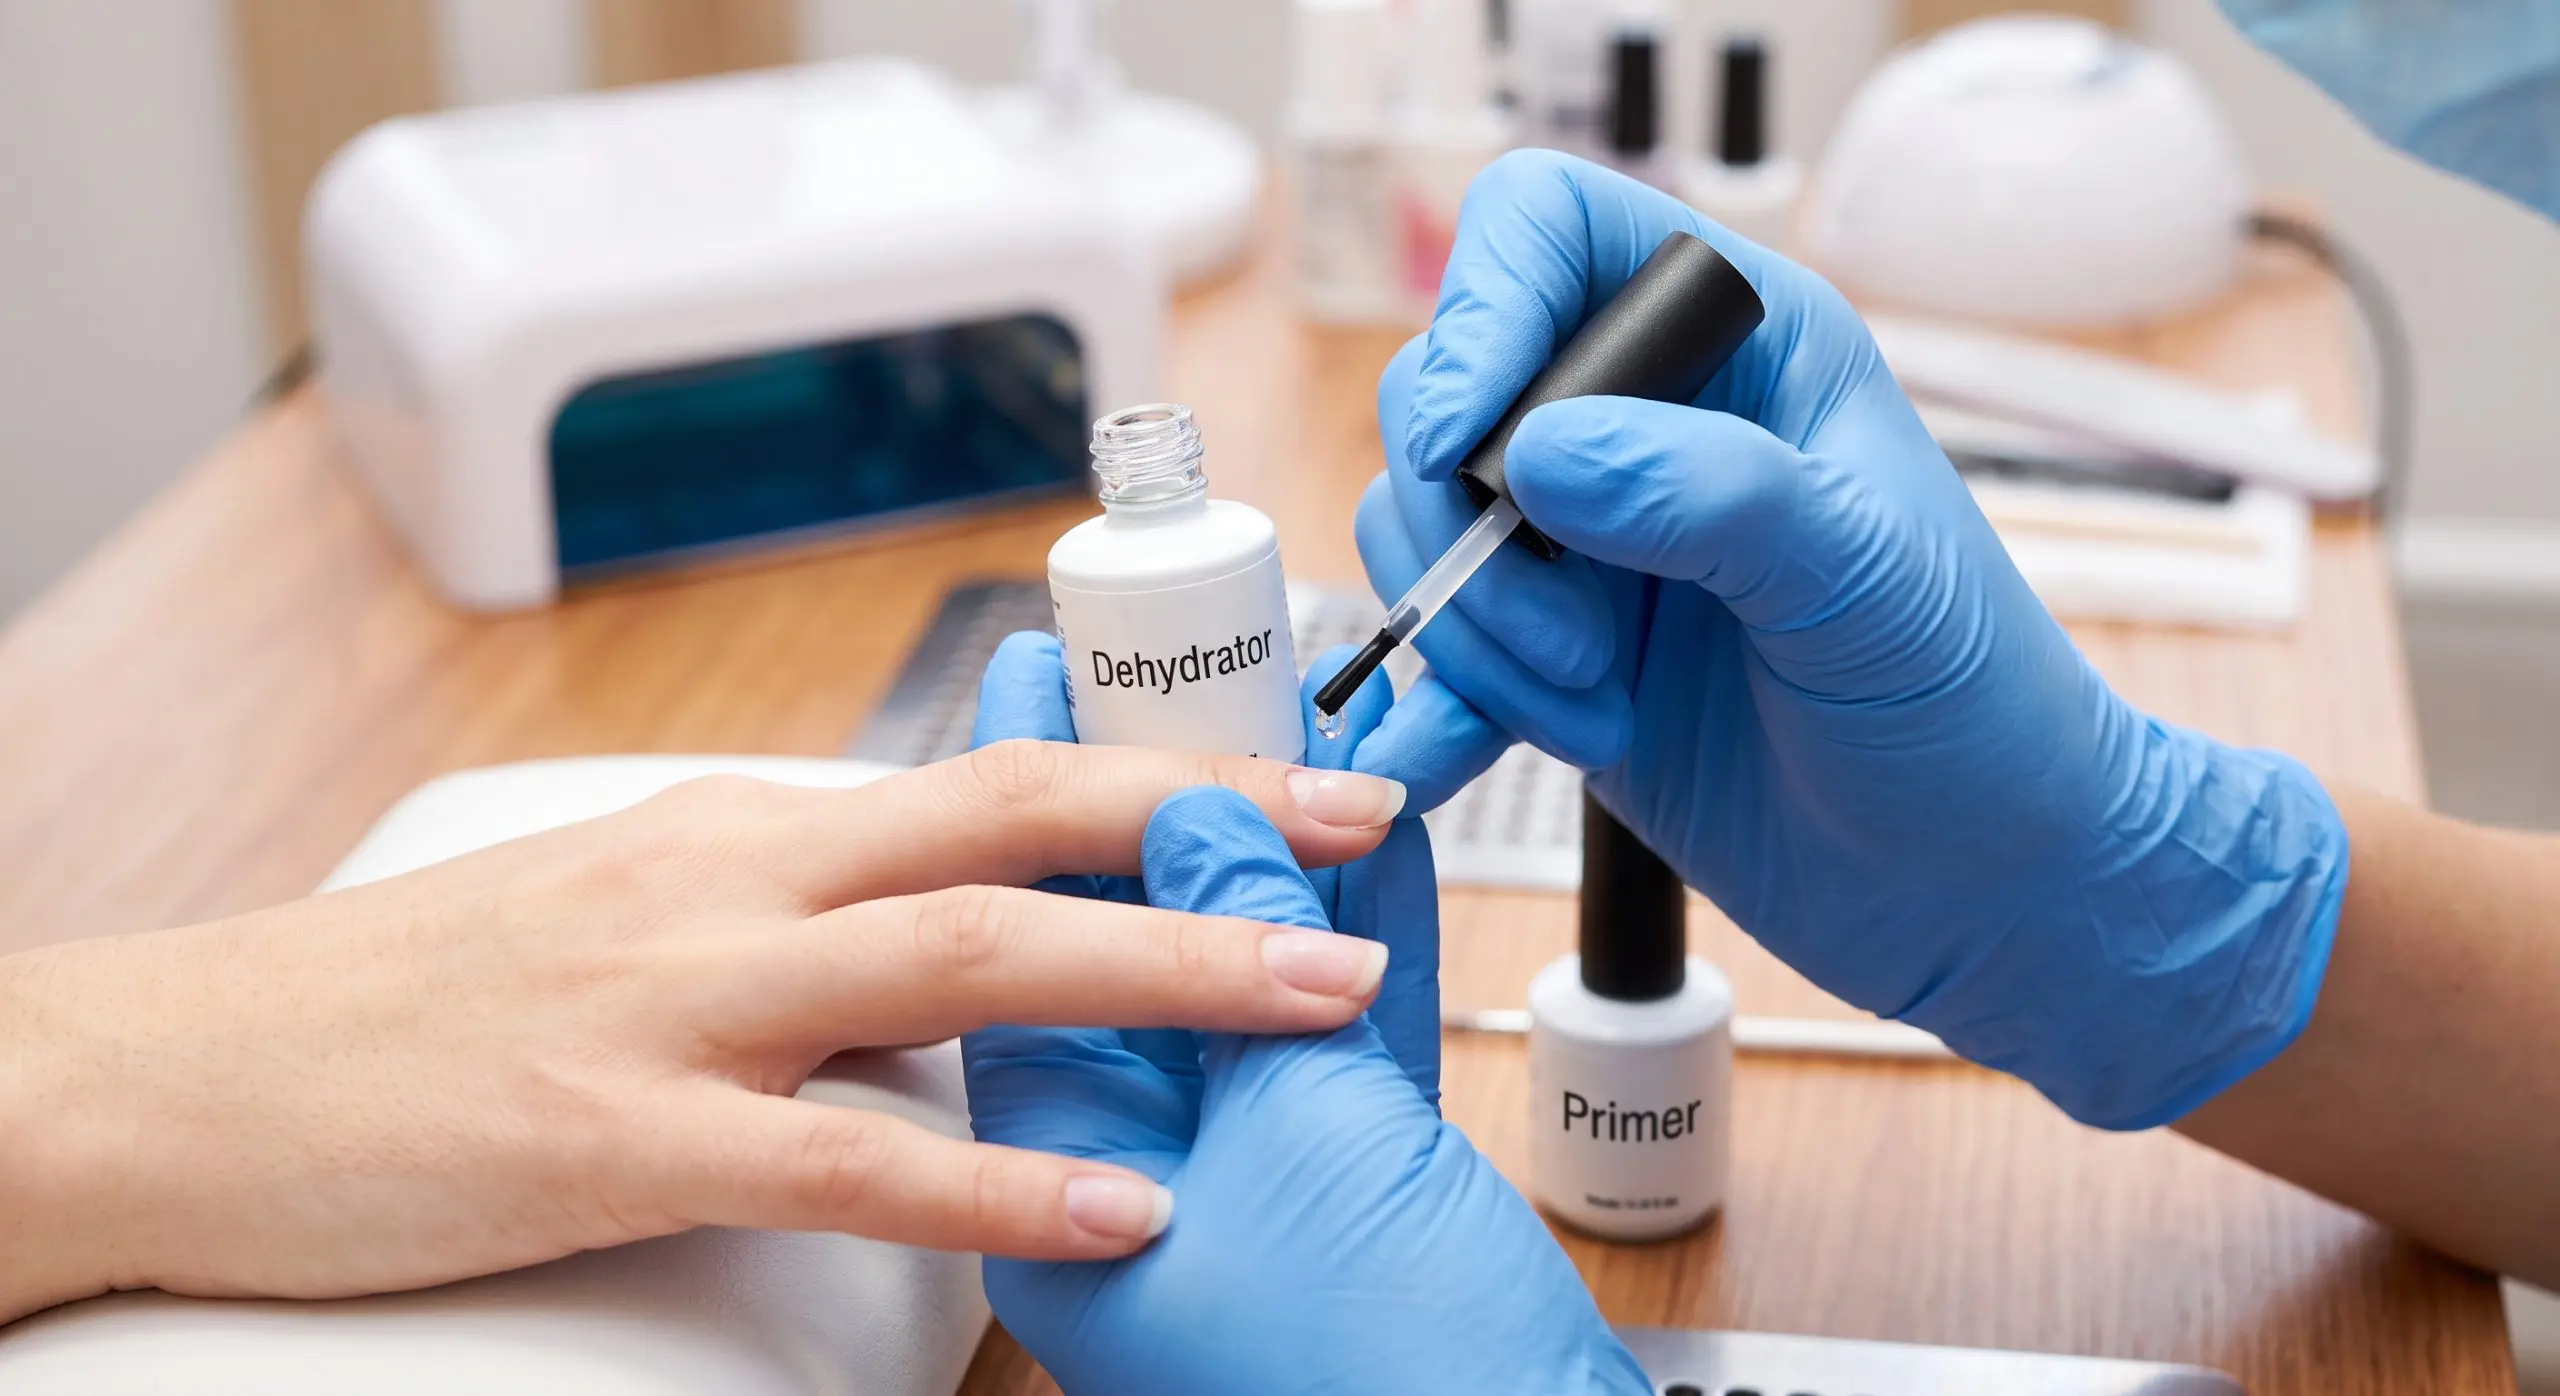
- Dehydration: A dehydrator is applied to the nail plate to remove surface moisture and oils. This is the step most at-home kits skip entirely, and it’s one of the biggest reasons at-home gel fails faster.
- Primer: A bonding primer prepares the nail plate for the base coat. Some formulations use an acid-free primer; others use a more aggressive acid primer for clients with oily nails or persistent lifting.
- Base coat: Applied thin, capped at the edge, and cured under the LED or UV lamp for the correct number of seconds.
- Color coat (one to two layers): Each layer is capped and fully cured before the next is applied. Skimping on cure time here causes soft spots.
- Top coat: Applied, capped, cured. The inhibition layer (the sticky residue left after curing) is wiped off cleanly to give the finished nail its shine.
- Cuticle oil: Applied immediately after the service. This is not cosmetic. Oil keeps the skin around the nail flexible, which reduces the stress on the gel edge.
The difference between a gel manicure that lasts two weeks and one that lasts three weeks often comes down to the dehydration and primer steps. These take under three minutes total and most clients never see them happen because they’re done quickly between shaping and color.
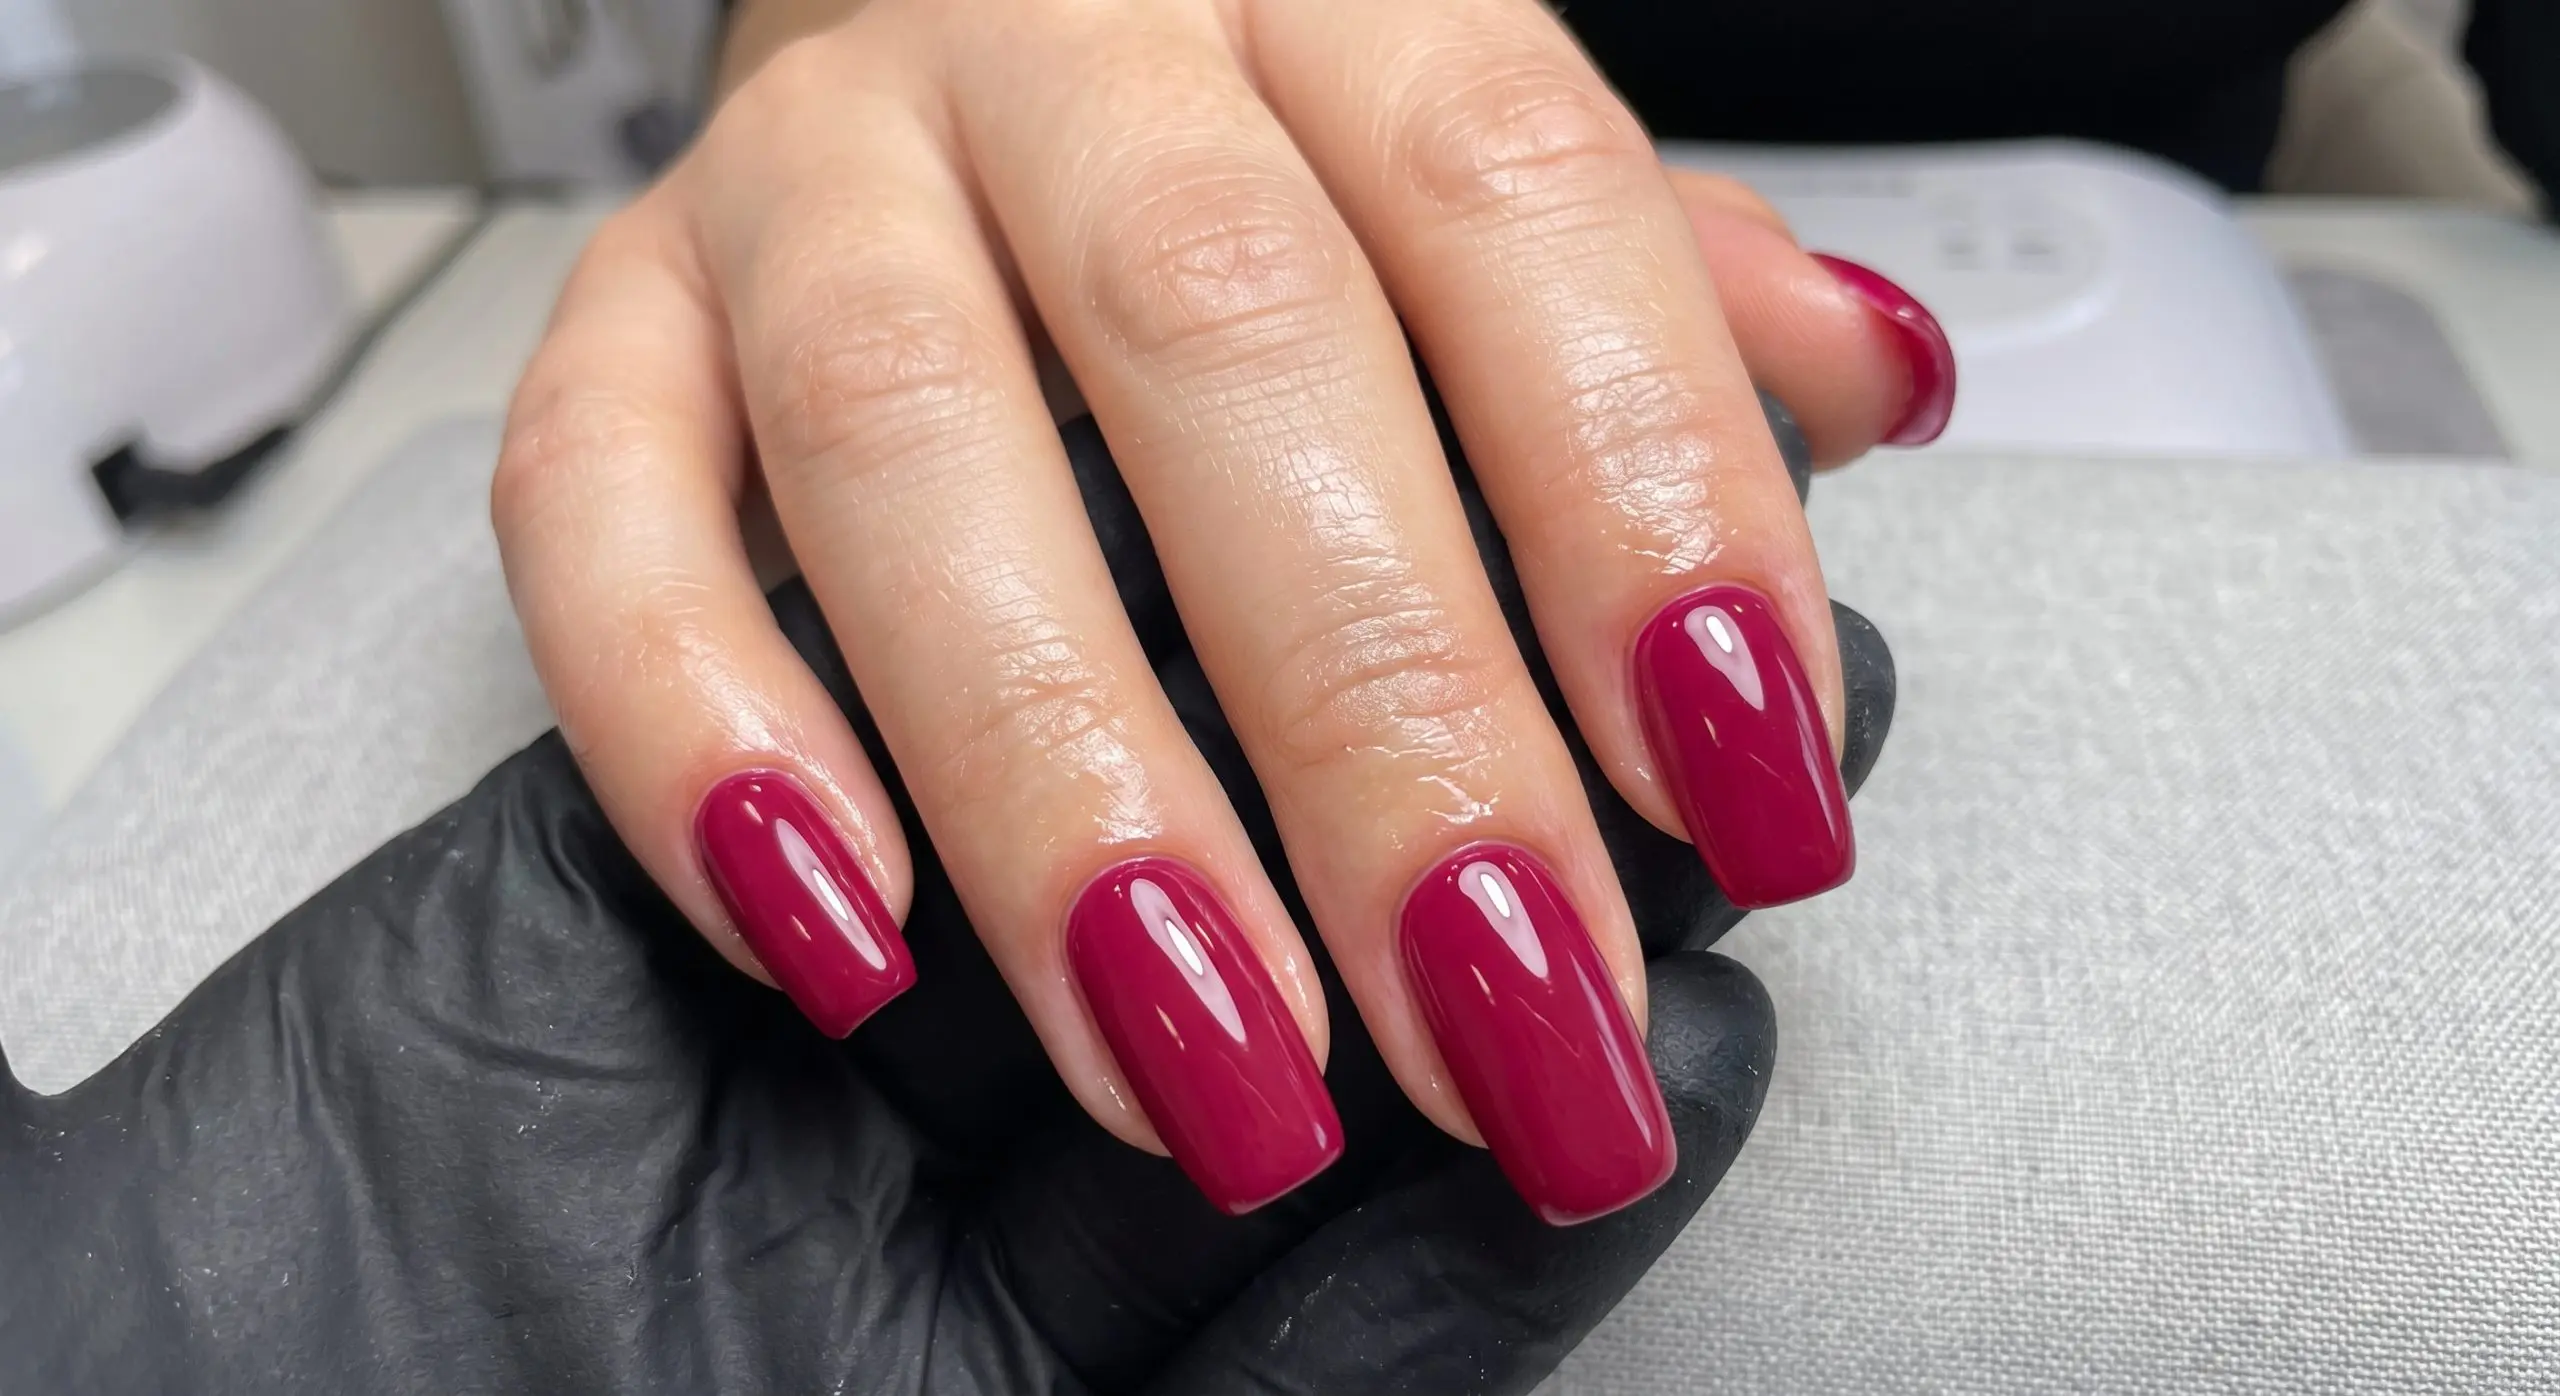
How San Antonio’s Climate Affects Your Gel Manicure
San Antonio’s combination of heat, humidity, and air conditioning creates a specific kind of challenge for gel nails that clients in other cities don’t always deal with. Heat causes your nail plate to expand slightly. The constant shift between a 98-degree parking lot and a 68-degree office interior means your nails are contracting and expanding multiple times a day. Gel is not perfectly rigid, but repeated thermal stress does weaken the adhesion over time, particularly at the tip.
Humidity also plays a role. Higher ambient moisture means your nail plate naturally holds more water, which can slightly reduce how well dehydration treatments work. A technician who understands this applies dehydrator more thoroughly and gives it more dwell time before moving to primer.
The good news is that professional-grade gel formulations used at reputable salons are calibrated for wear in variable conditions. The brands used at established nail bars in the area are specifically chosen for their flexibility-to-hardness ratio, which absorbs daily movement without cracking. You can read more about what separates these formulations in our breakdown of San Antonio’s best gel nail polish brands.
What You Can Do Between Appointments to Protect Your Gel
The salon does most of the work, but what you do in the following two to three weeks makes a real difference in whether your gel holds its edge.
| Do This | Avoid This |
|---|---|
| Apply cuticle oil daily (the nail plate and surrounding skin stay more flexible) | Picking or peeling the gel, even a small lift at the edge |
| Wear rubber gloves for dish washing and cleaning with chemicals | Prolonged soaking in hot water, hot tubs, or pools without hand care afterward |
| Use your fingertips, not your nails, to open cans and pull tabs | Using nails as tools for scraping, peeling stickers, or popping lids |
| Moisturize your hands after washing, especially the skin around the nail | Acetone-based hand sanitizers or nail polish removers near the edges |
| Book a fill or refresh at two to three weeks, before lifting starts | Waiting until gel is visibly lifting or peeling before returning to the salon |
The American Academy of Dermatology’s nail care guidance consistently points to moisture management as one of the key factors in nail health. Keeping the skin around your nail bed hydrated reduces the micro-tension that builds at the gel’s edge as your skin moves. Cuticle oil is the simplest way to do this between appointments.
How to Tell If Your Salon Is Doing It Right
Not every gel manicure is created equal, and not every salon follows the full prep process. Here are the signs you’re in good hands, and the ones that should give you pause.
Green flags
- The technician applies a dehydrator and primer before the base coat, even if they do it quickly and don’t explain each step.
- They cap the free edge on every layer, including the base and top coat.
- The LED or UV lamp is a professional-grade unit, not a small travel lamp.
- They ask about your nail history, specifically whether you’ve had lifting or chipping issues before.
- Cuticle oil is applied at the end of the service, not skipped.
Red flags
- The technician goes straight from shaping to base coat with no dehydrator or primer.
- Application is rushed and the cure time under the lamp is significantly shorter than 30 to 60 seconds per layer.
- The top coat is applied thick and there is no edge capping.
- The salon cannot tell you what brand of gel they use.
If you’re looking at options for a gel manicure in San Antonio, TX, the service page breaks down what the appointment experience looks like from check-in to finish. It’s worth reading if you’ve had inconsistent results at other salons.
When to Consider a Different Nail Service Entirely
Gel polish is the right choice for most clients most of the time. But there are situations where a different service delivers better results or better nail health outcomes.
If you work with your hands heavily, wash dishes without gloves, or have naturally thin or flexible nails, standard gel polish may always struggle to reach the three-week mark regardless of how good the application is. In those cases, builder gel nails or a gel overlay adds structural support to the nail plate, giving the color coat a thicker, more resilient base. Builder gel also strengthens thin or damaged nails over time, which is a benefit that standard gel polish doesn’t provide.
For clients who want length and structure with maximum wear time, Gel-X nail extensions in San Antonio offer a soft gel alternative to acrylics that typically lasts three to five weeks. For anyone focused on growing and protecting their natural nails, our guide to strengthening natural nails in San Antonio covers what actually works.
Frequently Asked Questions
Ready for a Gel Manicure That Actually Lasts?
At Abel R Nail Bar on Bitters Rd in North San Antonio, every gel service starts with a thorough nail prep protocol using professional-grade dehydrators, primers, and branded gel systems. If you’ve had chipping issues at other salons, come in and let us show you the difference the right process makes. Walk-ins are welcome, or you can book ahead to choose your preferred time.
Book Your Appointment